If your at-home blowout looks glossy for an hour and then deflates into frizz, you’re not alone. A true Hollywood blowout isn’t just about a powerful dryer—it’s a sequence: smart prep, the right tools, precise technique, and an airtight finish. Below, I’m breaking down the five stylist-revealed mistakes that quietly derail your volume and smoothness, plus luxury product and tool picks (all easy to find on Amazon) that make your blowout last from coffee to cocktails.
1) Mistake: Skipping Proper Prep
Most blowouts fall flat before you even pick up the dryer. Product and water management set the tone for everything that follows. If your hair is weighed down with heavy conditioners, leftover dry shampoo, or you start styling when it’s sopping wet, you’ve already lost volume.
- Clarify strategically: Once a week, use a gentle clarifying or detox shampoo to remove residue so your roots can actually lift.
- Choose weightless hydration: Opt for featherlight conditioners or masks from mid-lengths to ends only. Rinse well.
- Rough-dry first: Blow-dry using your fingers until hair is 70–80% dry before you ever touch a round brush. This removes water weight and speeds styling.
- Heat protection that adds slip: A high-performance heat protectant doubles as your blowout primer, giving you slip and shine without grease.
Pro Pick: Oribe Royal Blowout Heat Styling Spray delivers instant slip for faster drying, reflective shine, and heat protection without sacrificing volume. Mist lightly through damp lengths before rough drying.
2) Mistake: Using the Wrong Tools
The best blowout is 50% airflow, 50% tension. If your dryer is too hot without enough controlled airflow, you’ll rough up the cuticle and create frizz. If your brush is the wrong size or bristle type, you won’t get bend, polish, or lift at the root.
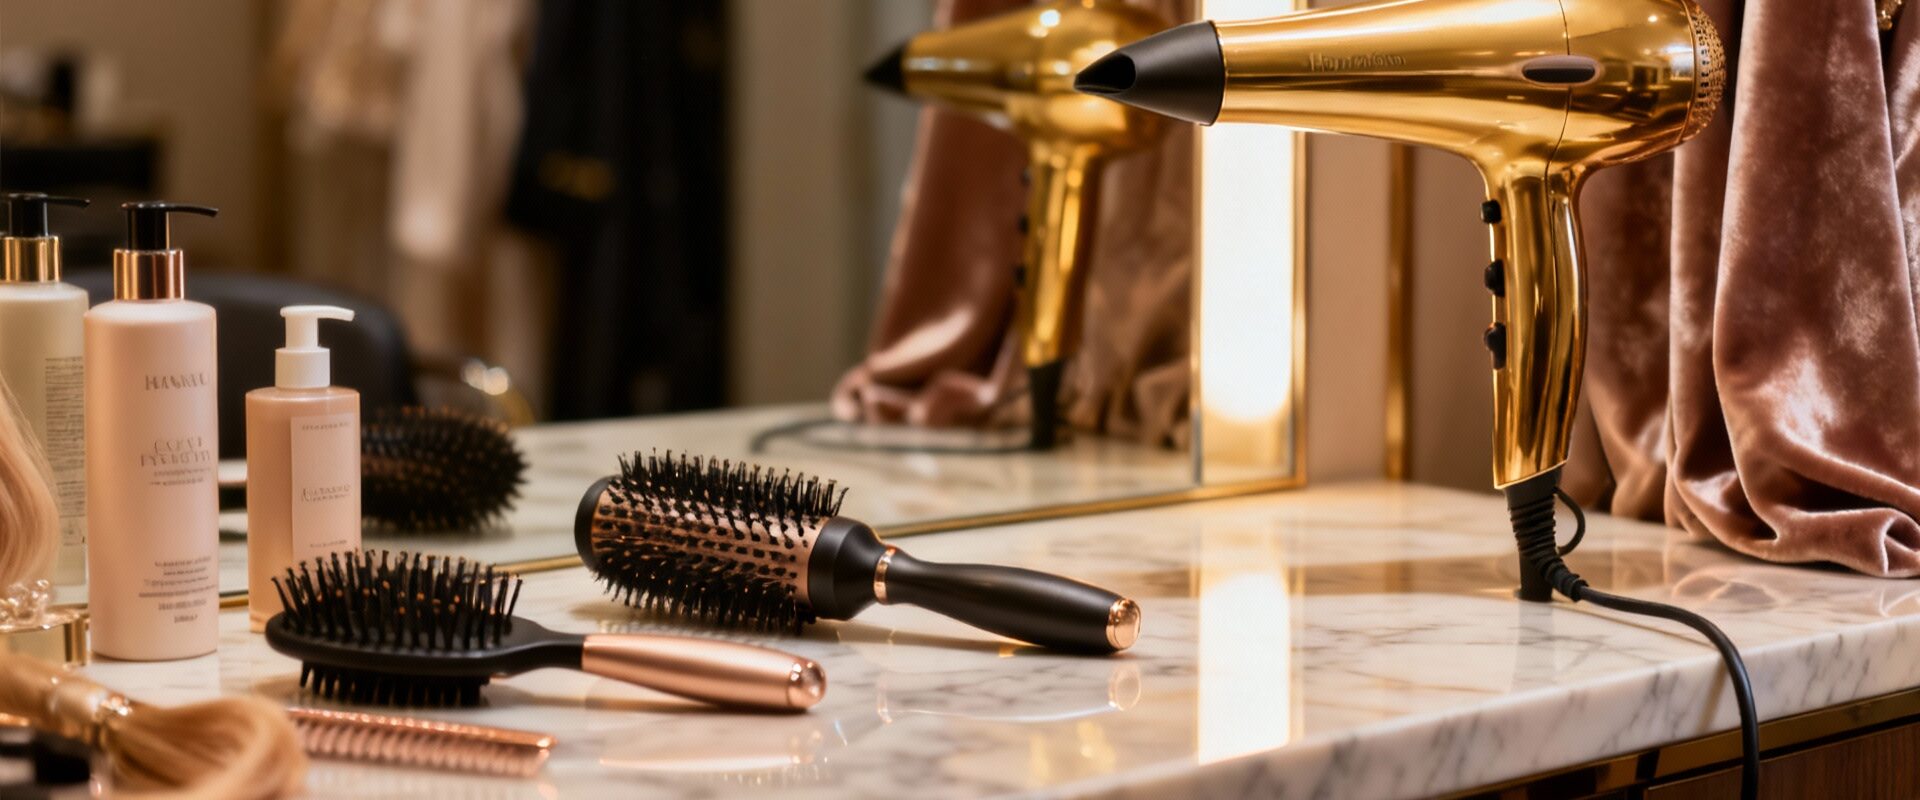
- Invest in controlled power: A professional-grade dryer with strong, focused airflow and intelligent heat helps you dry quickly without frying the cuticle.
- Know your brush: Use a ceramic vented round brush for faster drying and volume; use a boar or boar-nylon blend to smooth and add shine. Choose diameter based on hair length (short hair = smaller barrel; long hair = larger barrel).
- Nozzle on, always: The concentrator aims the air down the hair shaft to keep cuticles flat and glossy.
Pro Pick: The Dyson Supersonic Hair Dryer offers powerful, precise airflow with intelligent heat control and magnetic nozzles, so you get speed, smoothness, and less damage—key for a red-carpet finish.
3) Mistake: Ignoring Sectioning and Root Direction
Blowouts go wrong when you freestyle. Without clean sections and intentional over-direction, the roots dry flat and the ends flip randomly.
- Clip clean sections: Create four quadrants, then work in 1–2 inch sections. Clean sections let you keep tension.
- Over-direct for lift: Roll each section up and away from where it will live. For crown volume, pull hair up and forward while drying, then let it cool in that over-directed position.
- Chase with the nozzle: Keep the nozzle parallel to the brush and aim down the shaft from roots to ends to smooth and seal.
Bonus: After drying each section, hit it with a cool shot, then clip it into a loose barrel curl while it cools. Setting the shape is what makes the finish last.
4) Mistake: Too Much Heat, Not Enough Tension
Blasting high heat doesn’t equal smooth. Shine comes from aligned cuticles, which you achieve with tension plus directional airflow—then you lock it in with a cool shot.
- Find your heat sweet spot: Medium heat for fine hair, medium-high for coarse or curly hair. Increase only if hair is truly not drying.
- Keep the brush moving: Roll the brush slowly with firm tension; don’t stall the dryer in one place.
- Finish every pass with cool: The cool shot sets the style and prevents the shape from collapsing in humidity.
Pro Tip: If ends are fraying, add a pea-size smoothing cream just to the last two inches and increase brush tension rather than turning up heat.
5) Mistake: Skipping the Seal and Daily Maintenance
Your blowout’s “insurance policy” is what you apply after you’re done—and how you treat it for the next 48 hours.
- Humidity shield: A lightweight anti-humidity sealant repels moisture so your smooth finish doesn’t puff up as the day goes on.
- Flexible hold: Choose a soft, brushable hairspray to maintain movement without crunch.
- Hands off: The more you touch, the more oil transfers and volume drops.
- Sleep smart: At night, wrap hair loosely with a silk scrunchie on top of your head or use a silk pillowcase to reduce friction.
Pro Pick: Color Wow Dream Coat Supernatural Spray acts like a humidity-proofing raincoat. Activated by blow-dryer heat, it keeps hair sleek for up to 3–4 shampoos without weight.
Step-by-Step: The Hollywood Blowout Routine
Use this exact sequence for lasting volume and gloss:
- Step 1 – Cleanse & Condition: Wash with a lightweight, volume-friendly shampoo and a minimal conditioner mid-length to ends. Rinse thoroughly.
- Step 2 – Prime: Towel-blot well. Mist Oribe Royal Blowout Heat Styling Spray through damp lengths for slip, heat protection, and shine.
- Step 3 – Rough Dry: With the Dyson Supersonic Hair Dryer and concentrator nozzle, rough-dry to 70–80% using fingers to lift roots.
- Step 4 – Section: Create four quadrants and clip. Start at the nape, working upward in 1–2 inch sections.
- Step 5 – Round Brush: Place a ceramic round brush at the roots, over-direct up and forward, and chase with the nozzle down the hair shaft. Roll through ends for bend.
- Step 6 – Cool & Set: Hit each section with a cool shot, then optionally clip into a loose barrel curl to cool for 3–5 minutes.
- Step 7 – Seal: Mist Color Wow Dream Coat Supernatural Spray as directed (on damp hair before step 3) or apply a whisper of shine serum on dry ends only. Finish with flexible hold hairspray.
Product and Tool Recommendations
Here are luxury, high-performing picks that consistently deliver a red-carpet blowout and are easy to shop on Amazon:
- Dyson Supersonic Hair Dryer: Power, precision airflow, and smart heat limit damage while speeding dry time. Expect smoother cuticles and better hold with less frizz.
- Oribe Royal Blowout Heat Styling Spray: The ultimate blowout primer—weightless slip, heat protection, and mirror-like shine without flattening roots.
- Color Wow Dream Coat Supernatural Spray: A humidity-blocking sealant that keeps hair sleek and glossy for days; ideal in steamy climates or for frizz-prone textures.
FAQ: Make Your Blowout Last Even Longer
How do I refresh on day two? Flip hair, mist a dry shampoo at the roots, let it sit, then brush through. Re-activate ends with a warm round brush for 10–15 seconds and cool shot to re-set shape.
What brush size should I choose? Short to medium hair: 1.25–1.75 inch barrel. Long hair: 2–2.75 inch barrel. Finer hair types do better with ceramic for volume; thicker/coarser hair benefits from boar or boar-nylon for polish.
Can I combine products? Yes—keep it minimal. One primer (like Oribe Royal Blowout) + one humidity sealant (Color Wow Dream Coat) + flexible hairspray. Too many layers = lost volume.
The Takeaway
A Hollywood blowout is the sum of small, smart choices: lightweight prep, a powerful but controlled dryer, sectioning and over-direction, tension plus cool air, and a humidity-proof seal. Fix these five mistakes and your blowout will stay smooth, full, and camera-ready from morning meetings to last call. Consider it your new “worth the splurge” routine.
This post contains affiliate links. We may earn a commission when you shop through our links.