If your hair falls flat 10 minutes after you style it, this is for you. The “$200 stylist volume secret” isn’t one miracle product—it’s a pro technique that blends the right prep, a tension-focused blowout, and a Velcro roller set along the crown. When you combine heat, direction, and cool-down correctly, you lock in sky-high roots and plush body that lasts for days—without a salon visit.
What Is the $200 Volume Secret?
Stylists create long-lasting lift by stacking three things in order: a lightweight volumizing base, a directional blowout that over-directs hair away from its natural fall, and a cool set with large self-grip (Velcro) rollers along the “mohawk” section (forehead to nape). This heat-then-cool pattern reshapes the root, giving you that expensive, bouncy finish you normally pay for.
Think of it as a simple formula: prep + tension + set = volume memory. The best part? Once you learn it, it takes no extra time—your cool set finishes while you do skincare.
Tools & Products That Make It Work
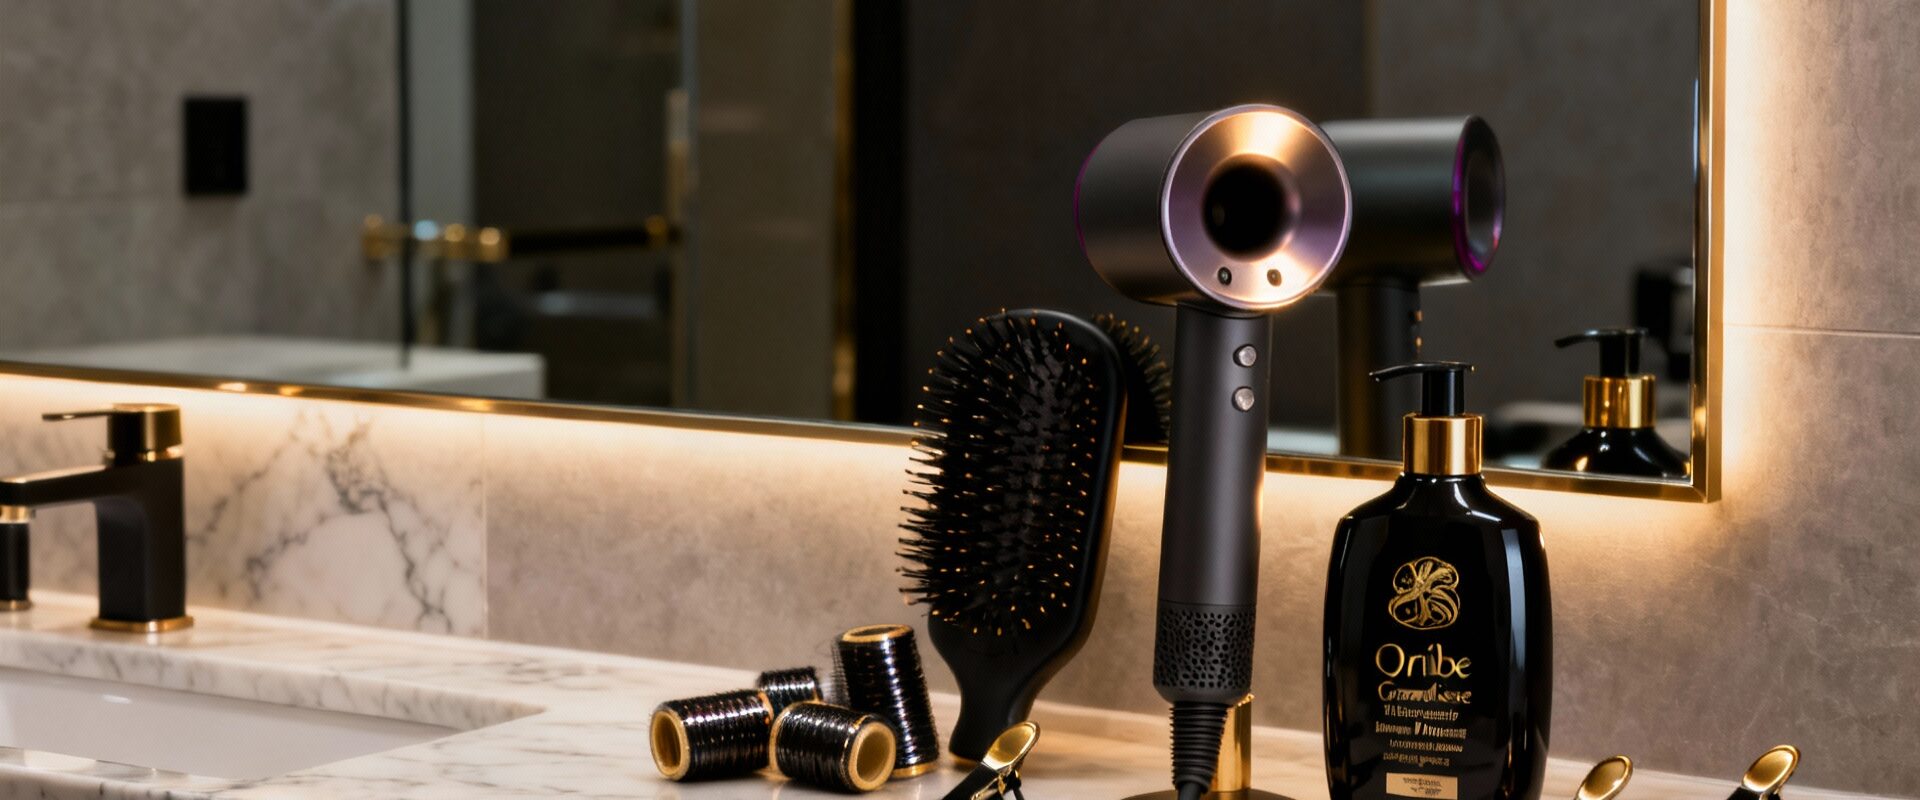
- High-speed dryer with a concentrator nozzle: A powerful dryer speeds up styling and delivers a targeted airflow for lift. The Dyson Supersonic Hair Dryer is a gold standard for smooth, fast results without frying fine hair.
- Large round brush (ceramic or boar blend): Choose a 1.75–2.25 inch barrel for medium to long hair; a 1.5 inch for shorter styles. Vents help heat set; boar bristles add polish.
- Velcro rollers (large to extra-large): Look for high-grip, crown-friendly rollers like Drybar High Tops Self-Grip Rollers.
- Volumizing mousse or lightweight foam: A modern mousse expands the hair shaft without stickiness. Try Oribe Grandiose Hair Plumping Mousse for plush, touchable body.
- Heat protectant + hold: A light thermal spray keeps frizz down; a flexible hairspray or texture spray boosts memory without crunch.
- Duckbill clips: To secure rollers and root elevation while cooling.
Step-by-Step: Salon Blowout Lift at Home
Follow this pro sequence for roots that refuse to collapse:
- 1) Start clean, but not slippery: Wash with a volumizing shampoo and a lightweight conditioner just on mid-lengths to ends. If your hair is very fine, skip heavy masks before a blowout.
- 2) Product map: Towel-dry until damp. Apply a golf-ball-sized amount of volumizing mousse at the roots first, then comb through to mid-lengths. Mist a heat protectant from ears down.
- 3) Rough-dry to 75–80%: Flip your head and lift hair at the roots with your fingers while drying, aiming the nozzle from roots to ends. This establishes lift without frizzing the cuticle.
- 4) Section smart: Create a vertical “mohawk” section from your forehead to the crown—about the width of your round brush. Clip the sides away.
- 5) Over-direct with tension: Working from the front hairline back, take a 1–1.5 inch subsection. Place the round brush under the roots and pull the hair forward and up toward your face while directing heat at the roots. Rotate the brush through the mid-lengths with steady tension. Finish each pass with a cool shot to set the cuticle.
- 6) Set in Velcro rollers: Immediately roll each finished subsection away from the face and secure with a clip. Keep rollers parallel along the mohawk for a smooth, lifted crown.
- 7) Sides matter: On the sides, over-direct sections upward toward the top of your head before rolling them. This prevents flat wings near the temples.
- 8) Let it cool completely: Volume is formed during the cooling phase. Leave rollers in for 10–20 minutes while you get ready.
- 9) Remove and polish: Gently unroll, then rake through with fingertips or a wide-tooth comb. Mist a flexible hairspray or a light texture spray just at the underlayers for hold. Avoid brushing aggressively—it collapses lift.
Pro Tweaks for Your Hair Type
- Fine, easily-greasy hair: Use a pea-sized amount of lightweight conditioner on ends only. Mousse at the roots; avoid creams. If needed, mist a dry shampoo at the crown before you blow-dry to add grit.
- Medium density: You can layer a mousse at the root and a volumizing spray through mid-lengths. Keep oils away from the crown.
- Thick or heavy hair: Use slightly smaller sections, add a second pass of the cool shot, and choose extra-large rollers for a smooth lift without excess bend.
- Short bobs or lobs: Size down your brush (1.5 inch) and rollers (large vs. XL) to avoid too tight of a bend at the ends.
Make It Last 48–72 Hours
- Sleep smart: Flip your part before bed to preserve lift at the root. Use a silk pillowcase to minimize friction.
- Humidity hack: Seal the hair lightly with a flexible hairspray focused at the interior layers, not the top surface.
- Day-two refresh: Target the crown with dry shampoo, lift sections, and hit with a cool shot. If needed, pop in one or two Velcro rollers at the front while you do makeup.
- Clarify weekly: Product buildup flattens everything. Use a gentle clarifying shampoo once a week to reset volume.
Common Mistakes That Kill Volume
- Too much conditioner or oil near the scalp: Keep rich products from the ears down.
- Skipping the cool shot: Heat shapes; cooling sets. Without it, your hair remembers “flat.”
- Rollers too small: Small rollers create curl, not lift. Choose large to extra-large at the crown.
- Brushing out the set: Post-roller, use fingers and a wide-tooth comb. A paddle brush can deflate your hard work.
Luxury Products We Trust for Big, Lasting Lift
If you want that polished, editorial finish, the right products earn their keep:
- Dyson Supersonic Hair Dryer: Fast, controlled airflow with intelligent heat control means smooth cuticles and volume that lasts without frizz.
- Oribe Grandiose Hair Plumping Mousse: A lightweight yet plush mousse that swells each strand for noticeable body—no crunch, no residue.
- Drybar High Tops Self-Grip Rollers: Extra-large, high-grip rollers that secure easily and release cleanly for that coveted crown lift.
Step-By-Step Cheat Sheet (Save This)
- Prep with mousse at roots + heat protectant on lengths
- Rough-dry to 80% while lifting roots with fingers
- Round-brush in 1–1.5 inch sections, over-directing for lift
- Cool shot each section, then set on large Velcro rollers
- Let cool 10–20 minutes, then release and finish with flexible hold
When to Book the Salon
Saving the $200 is easy once you master this, but a pro blowout can be worth it for special events, learning advanced brush techniques hands-on, or when humidity is high and you want longevity. Ask your stylist to show you their sectioning and over-direction so you can mirror it at home next time.
The Takeaway
The volume you love isn’t luck—it’s a repeatable system. With a powerful dryer, a smart product map, and a mohawk roller set, you’ll get lift at the root, airy movement through the lengths, and a plush, bouncy finish that reads expensive. Practice once or twice, and your “$200 stylist secret” becomes your everyday signature.
This post contains affiliate links. We may earn a commission when you shop through our links.