If you’ve ever wondered how celebrities manage that poreless, makeup-melts-into-skin finish on the red carpet, here’s a not-so-secret secret: dermaplaning. The precision facial tool that removes peach fuzz and lifts dull dead skin cells is a staple in Hollywood prep—and you can get pro-level results at home for under $100. In this guide, we break down exactly what dermaplaning is, why it works, how to choose the right tool, and how to use it safely for a truly radiant, makeup-ready glow.
What is dermaplaning—and why does Hollywood love it?
Dermaplaning is a form of physical exfoliation that uses a sterile, single-edge blade to gently skim off vellus hair (peach fuzz) and surface-level dead skin. The results are immediate: smoother texture, a brighter look, and a perfectly even canvas for makeup. When there’s no fuzz to trap product or light, foundation goes on like silk and skin reflects light beautifully—hence the “red carpet glow.”
Unlike harsh scrubs, dermaplaning feels surprisingly gentle when done correctly. Think of it as a precision polish: it helps skincare penetrate better, softens the look of fine lines and dry patches, and makes sunscreen and serum application feel seamless.
Benefits you’ll notice after one session
- Instantly smoother texture: Removes the top layer of dullness so skin looks refined and bouncy.
- Flawless makeup base: Foundation, blush, and highlighter glide on without catching on peach fuzz or dry spots.
- Brighter, more even tone: Gentle exfoliation reveals a fresh, luminous surface.
- Better product absorption: Your serum and face oil don’t have to fight through fuzz—hello, glow.
- Softer-looking fine lines: Light diffuses more evenly on a freshly smoothed canvas.
Quick myth-buster: dermaplaning does not make hair grow back thicker or darker. Vellus hair grows back with the same texture and rate. What you will notice is that when the hair returns with a blunt tip, it can feel slightly different to the touch—but it’s the same hair.
How to choose an under-$100 dermaplaning tool
Not all blades are created equal. Look for:
- Single-edge, stainless steel blades with a safety guard for beginner-friendly control.
- Reusable handle + refill blades to reduce waste and give you a stable grip.
- Ergonomic, non-slip design so you can maintain the best angle without tugging.
- Brand transparency on materials, sterilization, and replacement cadence.
We love tools that pair a weighty, reusable handle with high-quality blades. Under $100, you can find options that feel truly luxurious without compromising performance.
Step-by-step: how to dermaplane safely at home
Set aside 10–12 minutes. Good lighting is non-negotiable.
- 1) Start with clean, dry skin. Double cleanse and ensure your face is completely dry. Skip acids and retinoids 24–48 hours before.
- 2) Disinfect your tool. Wipe the blade with isopropyl alcohol and let it air dry.
- 3) Anchor the skin and use a 45° angle. Hold the skin taut with one hand; with the other, glide the blade in short, downward, feather-light strokes. Think “petting a kitten,” not scraping a pan.
- 4) Work by zones. Cheeks, jawline, upper lip, forehead. Avoid the nose bridge, eyelids, active breakouts, and brows.
- 5) Go slow and steady. Wipe the blade on a clean cotton round between passes. If you see redness, lighten the pressure.
- 6) Post-care is everything. Rinse with cool water, pat dry, then layer a hydrating essence or lotion, a hyaluronic serum, and a replenishing face oil. Finish with a no-white-cast SPF the next morning.
Frequency: Every 2–4 weeks is ideal. If you’re more sensitive or using actives (retinol, AHAs), extend to 4 weeks. Always patch test if you’re reactive or prone to redness.
Who should use caution (or skip)
If you have active cystic acne, eczema flares, open cuts, or a compromised barrier, wait until skin is calm. Those with rosacea can proceed carefully on non-inflamed areas after patch testing. Avoid combining dermaplaning in the same week as strong peels, microneedling, or laser. When in doubt, consult your derm or facialist.
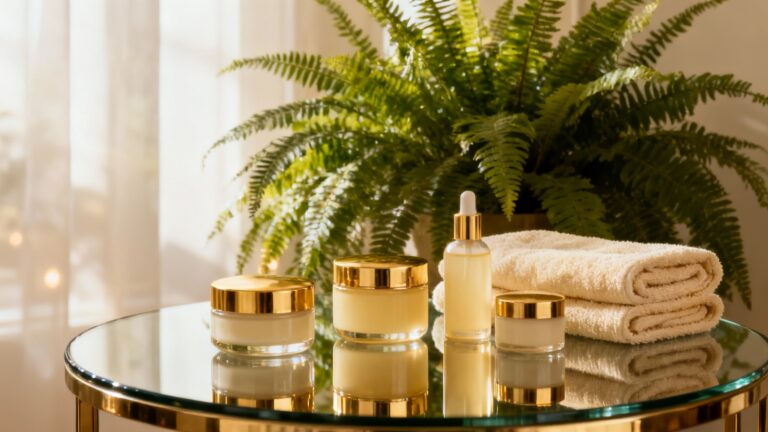
Glow-boosting skincare to pair with dermaplaning
Freshly smoothed skin drinks up actives—so choose wisely. Aim for hydration, barrier support, and calming ingredients right after you dermaplane, then reintroduce retinoids or acids 48–72 hours later.
- La Mer The Treatment Lotion: A cushioning, watery lotion that adds instant plump hydration without heaviness.
- Dr. Barbara Sturm Hyaluronic Serum: A clean, fast-absorbing hyaluronic complex that floods skin with multi-weight hydration.
- Augustinus Bader The Face Oil: A luxe, lightweight oil that seals in moisture and supports the barrier for glassy radiance.
Daytime tip: always follow with a broad-spectrum, no-white-cast sunscreen. Freshly exfoliated skin is more sun sensitive; SPF is your glow insurance.
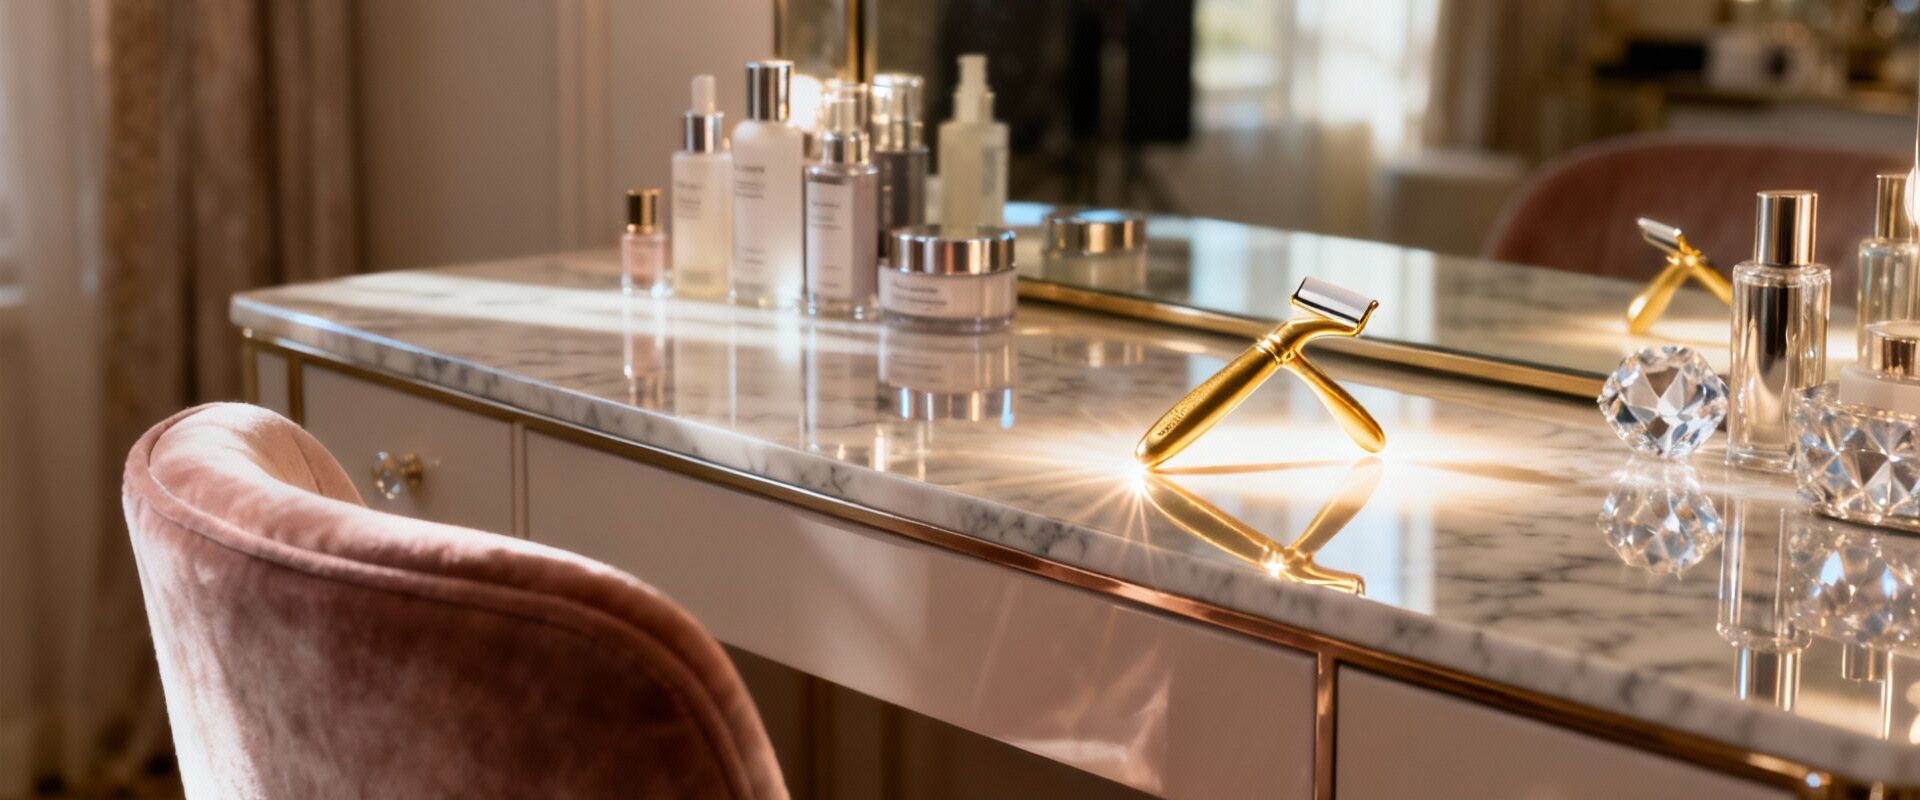
Editor-approved under-$100 tools (and how they differ)
- StackedSkincare Dermaplaning Tool: A chic, reusable handle with refillable stainless steel blades. The weighty grip gives excellent control for beginners and pros alike—great for fine hair and dry patches that disrupt foundation.
- Dermaflash Mini Precision Peach Fuzz Removal Device: Compact, travel-friendly, and designed to navigate areas like the upper lip and brow perimeter safely. Ideal if you want quick touch-ups between full-face sessions.
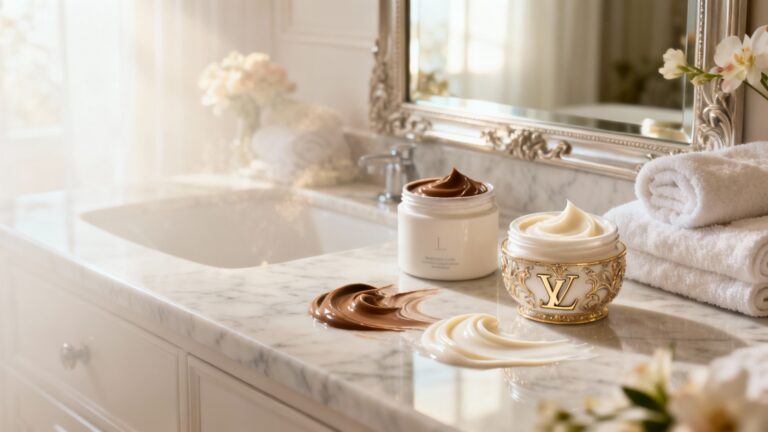
For the perfect finish, lock in the glow with Augustinus Bader The Face Oil—it cushions freshly smoothed skin and leaves a refined, lit-from-within sheen that looks incredible under makeup.
Pro makeup artist tips for a red-carpet finish
- Dermaplane at night so any minor redness settles while you sleep.
- Prime with skincare, not silicone. A hydrating essence + hyaluronic serum + light oil creates a seamless canvas that grips foundation without pilling.
- Use less base. You’ll need 30–50% less foundation after dermaplaning. Buff thin layers and spot conceal only where needed.
- Cream textures love smooth skin. Cream blush and highlighter melt in and look expensive on a fuzz-free canvas.
- SPF next day, always. Choose a no-white-cast formula to keep that refined look.
Common mistakes to avoid
- Too much pressure. Let the blade do the work; pressing hard invites irritation.
- Going over the same area repeatedly. One to two light passes per zone is enough.
- Skipping disinfection. Always sanitize pre- and post-use; replace blades regularly.
- Layering strong actives immediately after. Save retinol/acid night for 48–72 hours later.
The takeaway
If you want that smooth, undetectable makeup look and lit-from-within radiance, an under-$100 dermaplaning tool is the rare Hollywood secret that truly delivers at home. Choose a quality, guard-protected blade, follow the light-touch technique, and cushion skin with hydrating luxury care. The payoff is instant: refined texture, better product absorption, and a red-carpet glow—no glam squad required.
This post contains affiliate links. We may earn a commission when you shop through our links.